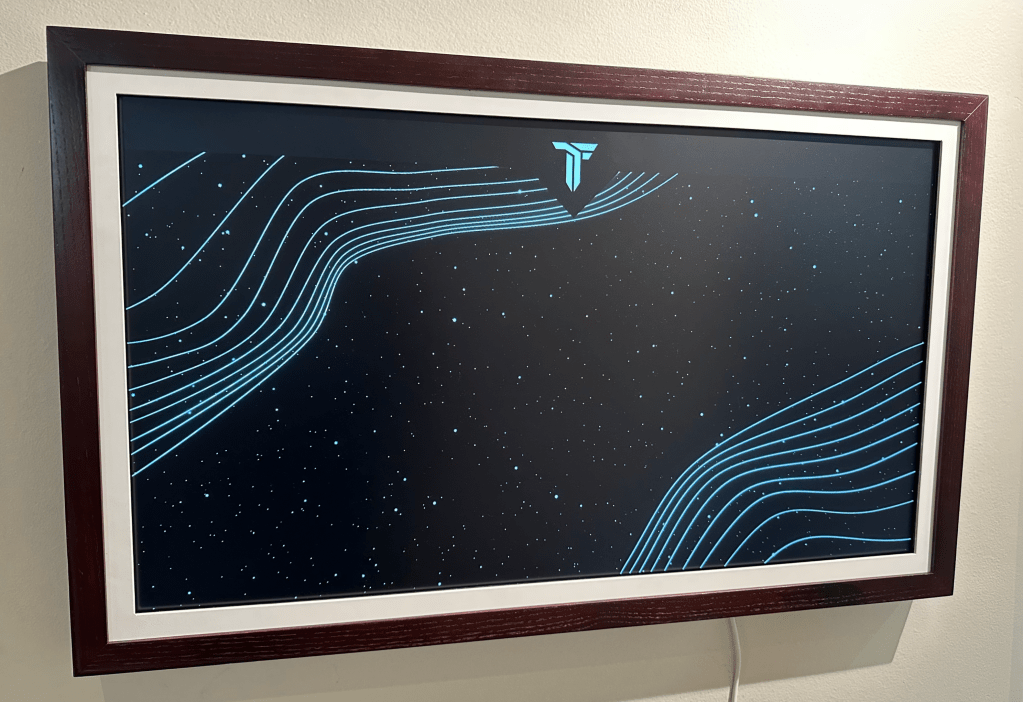

In late November 2024, TokenFrame digital display frames went dark. Suddenly, instead of showing playlists of the owners’ NFTs, the screens would only show white lines waving on a spacey background. The company was cagey about the issue. Complaints piled up in its Discord and on social media.
Three weeks later, TokenFrame’s CEO admitted that the company had ran out of money and stopped paying server costs. The frames had become soft-bricked.
Since then, TokenFrame owners have been left without an obvious way to interact with their frames. The only authorized way to control the frames was through TokenFrame’s webapp or smartphone apps. But those had quit functioning. As of January 2025, the webapp no longer shows a section to control the frames, and the “Frames” section of my TokenFrame iOS app is stuck on an endless loop of looking for devices to connect. Beyond that, TokenFrame.com now points to a dead Shopify storefront.
Rescue prospects look grim. Though the owner has discussed resurrecting the business by pivoting to a subscription-based app, no solution has been forthcoming. On Discord, the TokenFrame owner, whose handle is CEOSilphCo, wondered aloud who would trust him to right this ship, even if there were investors willing to provide an infusion of cash to save the company.
So in the absence of a rescue plan from the company, I’m writing this article for other TokenFrame owners to lay out your options for resurrecting your TokenFrame. My goal is to allow you to display digital art on your TokenFrame hardware by bypassing the TokenFrame app that comes preinstalled on your device.
Preparation
The solutions in this article assume you have a TokenFrame with at least one USB port. Not all TokenFrames may have a USB port. For devices that only have one port, you may be able to plug in a USB hub to allow you to connect more USB devices at once, such as a mouse, a keyboard, and a USB stick.
For safety, I recommend that you unplug your TokenFrame any time you unmount it from the wall.
To begin, unplug your frame, then remove it from the wall so you can access the USB port on the back. Plug in a mouse into a USB slot. (I use a wireless Logitech mouse. A wired mouse probably works better, as the physical frame seems to block much of the wireless signal from my mouse.)

Once you have the mouse plugged in, plug your TokenFrame in again and let it load the TokenFrame app (about 1 minute). TokenFrames run on an Android operating system, so your device will first boot up (showing a space-like screen, without any lines or TokenFrame logo), and then will briefly show you the Android home screen before launching into the TokenFrame app.
Typically, at this point the TokenFrame app will show wavy lines on a space-like background, or else will show a list of nearby wifi networks. Unless something changes on the TokenFrame server side, you can’t do anything with these screens, so at this point, you need to exit out of the app.
There are various ways to navigate the device with your app, and they may vary based on what mouse you use, and your TokenFrame hardware and software. Before I tell you about them in the section below, just know that your destination is the Settings app, so get there any way you can.
Once there, click on Apps, then TokenFrame. Use the Force Quit option to close the app, and prevent it from taking over your screen when you restart it (until and unless you open it again). If there is an option to disable it from being your “home app”, avail yourself of that as well.
Mouse Navigation with TokenFrame Displays
If you’ve already accessed your device’s settings and made the changes noted above, you can skip this section. Otherwise, here are some tips to help you find your way around the frame.
Once you have your mouse plugged in to the USB port, try pressing the mouse’s scroll wheel. That may take you directly to the settings app.
If that doesn’t work, try clicking the right mouse button. For me, that acted as the Android “back” button. I was able to use that method to access the home screen, from which I could access the settings app.
If you’re not getting anywhere, try holding both mouse buttons for 30+ seconds, then clicking them at the same time.
Try also holding your mouse at the bottom edge of the screen, which will bring up some navigation options. You may also have options by clicking or dragging down the top edge of your screen.
Explore the navigation features in your Settings app to enable various options that suit you, e.g., displaying navigation buttons at the bottom of the screen.
Now, you’re ready to explore the solutions.
Solutions for Unbricking your TokenFrame
Option 1: Download Another Display App from the Play Store
If you’re lucky, your TokenFrame has the Google Play Store installed as an app, so go look for it in your apps folder.
Launch it, and use it to search for any display app that is live in the Google Play Store, such as the BlackDove Canvas app or WhiteWalls app (expected to be released soon). Download your preferred app, open it, and follow that app’s instructions.
Congratulations, you’ve unbricked your TokenFrame!
If you’re unlucky, the Google Play Store has been deleted from your device. (This was the case for me.) You could try reinstalling it, either by downloading the Play store from the internet, or by sideloading it through a USB. You’ll probably want to make note of your Android version from the Settings app and find a matching build of the Play store from the internet.
Personally I did not have success downloading the Play store from the internet. I tried installing several builds of the Play store from a mirror site accessed via Chrome on the device, but the downloaded apps would crash immediately upon opening.
I have not tested loading the Play Store from a USB. In theory, you would download the Play Store APK to the USB device, plug that into the TokenFrame, navigate to the USB stick using the frame’s file explorer, and then install the app.
Option 2: Use the Browser
If you don’t have the Play store app on your device and don’t want to mess around with installing it, the next option is to use the TokenFrame’s browser to find a solution to display your NFTs.
Find the Chrome app, open it, and use the URL bar to navigate the web as normal.
Try view.art for a free, easy solution for casting your NFTs. Use your computer to sign up for the service, either via email (via magic link) or wallet login (Metamask, Rainbow, Coinbase, or WalletConnect). Then create a channel and enter your wallet address or ENS name (no authentication necessary!). Now, select from the available NFTs you want to display. (Don’t pick your biggest files to start with – sometimes they crash the browser.) When you proceed, you’re given a unique URL for your new gallery.

Now just plug that unique URL into Chrome on your TokenFrame, and bam! – you’re viewing a carousel of your tokenized art. This is definitely the breeziest setup of any solution I’ve used so far. I wouldn’t call the UI fully featured, but it does what it needs to do. Just don’t be surprised if and when they start charging a subscription fee. (Somebody’s paying these server costs!)
Another web-based solution is Zeroframe. Zeroframe casts your uploaded images to virtual frames, which you can display on any web-enabled device using a unique URL. At the moment Zeroframe only displays uploaded images or images pulled from URLs, but I’m told they’re launching support for casting NFTs soon. (I found the ZeroFrame team very friendly and responsive while writing this article – special thanks to Ishac for all the info!)

Use a magic link to easily sign up for Zeroframe with your email. Upload the artworks or other images you want to cast, making sure to fill in Title and Artist if you plan for those fields to display on your image. Create a collection (basically a playlist), and then a virtual frame. Then use that frame’s unique link to see your art. You can even test the link in a tab on your computer.
Zeroframe is free to try for 7 days, and they’re giving everyone 3 free months with the code HAPPY25. After that, pricing is $9/month for one virtual frame with 500mb of storage, and other options for power-users and galleries.
Congratulations, you’ve unbricked your TokenFrame!
Option 3: Sideload a Solution
This option involves installing an app onto your device via a USB stick. My 32″ TokenFrame has two USB ports, allowing me to use one for the mouse, and the other for a USB drive. If you don’t have two ports, try using a USB hub so you can plug in both of these things at once.
Find an app that allows you to download their APK. White Walls, BlackDove, and Zeroframe all have APKs available specifically for TokenFrame users. Use a computer to save the APK file to your USB stick. Then, plug the stick into the TokenFrame and follow the app developer’s instructions at the links above to get the software running on your frame.
Congratulations, you’ve unbricked your TokenFrame!
My favorite sideloaded solution is White Walls due to their support for Tezos alongside Ethereum, Solana, and Ordinals. It’s truly gratifying to finally be able to cast my Tezos collection directly to my TokenFrame. (The White Walls display app is also available on Apple TVs, if you happen to have one of those.) Oh, and it’s currently free! The company says pricing will be announced in the future.

Option 4: Use the Device’s Operating System
If the above options aren’t working for you, or if for some reason you’ve lost internet access to your device, your only option is to use the onboard file explorer to display your art.
This actually isn’t so bad. I found that the device did a great job displaying art that I had loaded onto my USB stick, including GIFs. You can even set up a basic slideshow, so the device scrolls through your art.
For this solution, use your computer to load the files that you want to display on your screen onto a USB stick. Then, plug your USB stick into your TokenFrame and navigate from the home screen to your file explorer app. Click on the USB stick, find your files, and open them to enjoy.
If you’re having issues with the file explorer app, try accessing the USB stick through the Gallery app.
As a bonus, by using the OS, you now have the ability to display any photo, video, or gif that you want on your frame, just like a regular Android device – no need for it to be on the blockchain. (That might not sound so exciting, but remember, the point of TokenFrame hardware was to lock it down so that you could only display NFTs. And at this point, I’d rather have a frame that can display any photo I want, now that I’ve experienced all aspects of the alternative approach!)
Congratulations, you’ve unbricked your TokenFrame!
If Your Frame Doesn’t Always Turn On
If your frame is only turning on at certain times of day, or if your frame turns off every time you launch the TokenFrame app, it may be operating on the display schedule you had previously set up for it in the TokenFrame app.
In my case, the display was set to turn on between 5PM and 10PM. This schedule stuck, even after the TokenFrame app stopped working. Frustratingly, even restarting the frame during the scheduled down time did not fix the issue: after booting, the frame would quickly load the TokenFrame app, and then the frame would shut off until its scheduled time to “wake up”.
Since there’s no way to change this settings schedule anymore from within the TokenFrame app, you’ll have to find a way around it. The solution is to force quit the TokenFrame app as described in the Preparation section of this article. Then just don’t open the TokenFrame app again… ever.
I recommend embarking on this during your scheduled hours, so you don’t have to fight the restarting cycle during scheduled down time.
A Note of Contrition
While I am frustrated at this situation as a TokenFrame customer, I also regret that I had recommended TokenFrame (alongside Muse Frame) on this blog as my pick for best NFT display frame of 2024.
My pick was based on TokenFrame’s commitment to displaying only the user’s authenticated, owned NFTs on the frame, rather than giving users the ability to cast any image. I felt at the time that this was the only approach that delivered on the premise of NFT art: if you see an image on this screen, you know that the owner bought this NFT. Without such a feature, it would be hard to say whether an image displayed on the frame was an NFT that the owner purchased, or just a right-click-saved jpeg uploaded from a phone.
But TokenFrame’s solution was double-edged sword, in that it created a central point of failure for the whole experience: No functioning TokenFrame company, no authenticated casting of your NFTs. If that sounds like “Not your keys, not your crypto“, it’s not accidental: crypto users have been burned many times by companies whose business models have left customers in the dust once the money stopped flowing. Add another example to the list of reasons why we should be striving toward the ideals of self-custody and trustlessness.
For what it’s worth, my other pick for the best display frame of 2024, Muse Frame (affiliate link), contends that customers would be in better shape if their company folded, since Muse branded displays ship with remotes that allow customers to directly control them as Android devices right out of the box.
Conclusion
Hopefully, with the solutions outlined above, you’re able to rescue your TokenFrame and continue displaying your favorite digital art with it.
If this article helped you resurrect your TokenFrame, I’d love to see the outcome! Please tag me with your pic on X (or your social media app of choice – I’m on most of them as Niftyist).

Leave a comment